¶ How to Manage Local Groups and Users in Windows 11
¶ Adding a New Local User
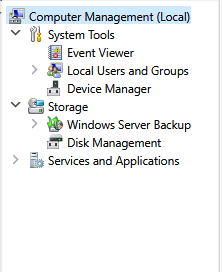
- Right-click Start and select Computer Management.

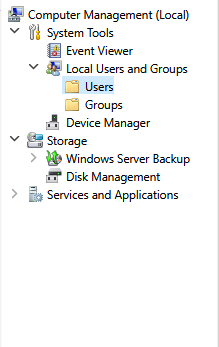
- In the left navigation pane, select Local Users and Groups.
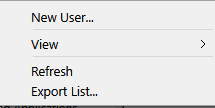
- Right-click Users in the left pane and select New User.
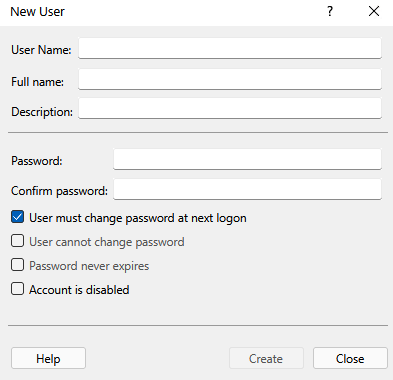
- Fill in the applicable information for the new user.
- Click Create and then Close when finished.
¶ Assigning a User to a Group
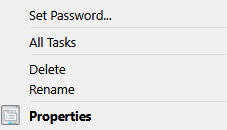
- Right-click the newly created user and select Properties.
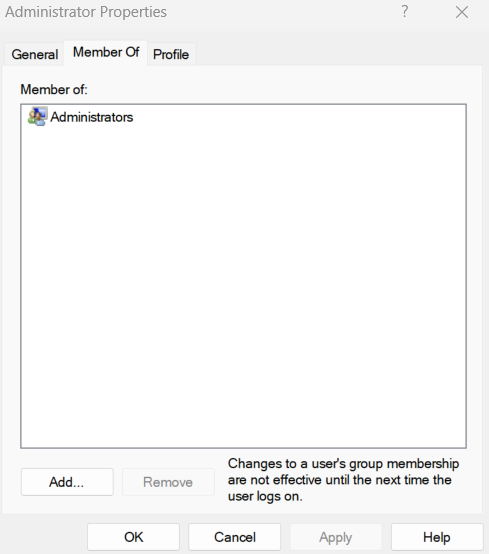
- In the user properties window, select the Member Of tab.
- Click Add.
- In the Select Groups window, type the name of the group you want to assign the user to.
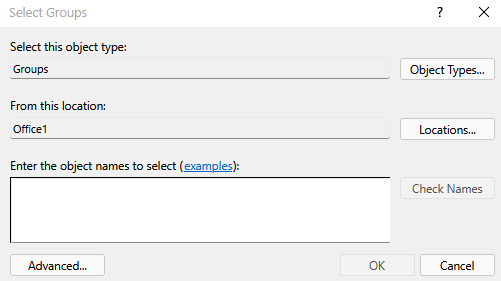
- Click Check Names to verify the group.
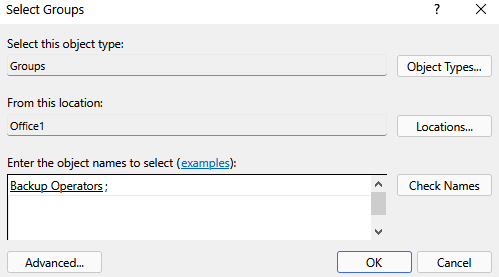
- Click OK to assign the user to the group.
✅ The user has now been successfully added and assigned to the desired group.