¶ How to Manually Add a Local Printer in Windows 11
If Windows does not automatically detect your printer, you can add it manually by following these steps:
¶ 1. Open Settings
Press Win + I to open the Settings application.
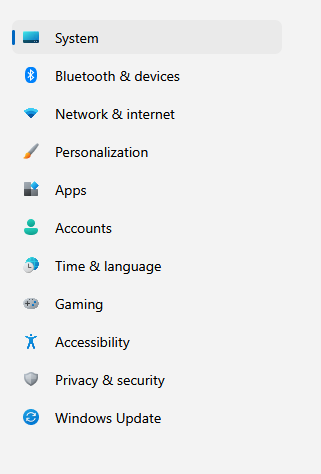
¶ 2. Navigate to Devices
Click Bluetooth & Devices in the left navigation pane.
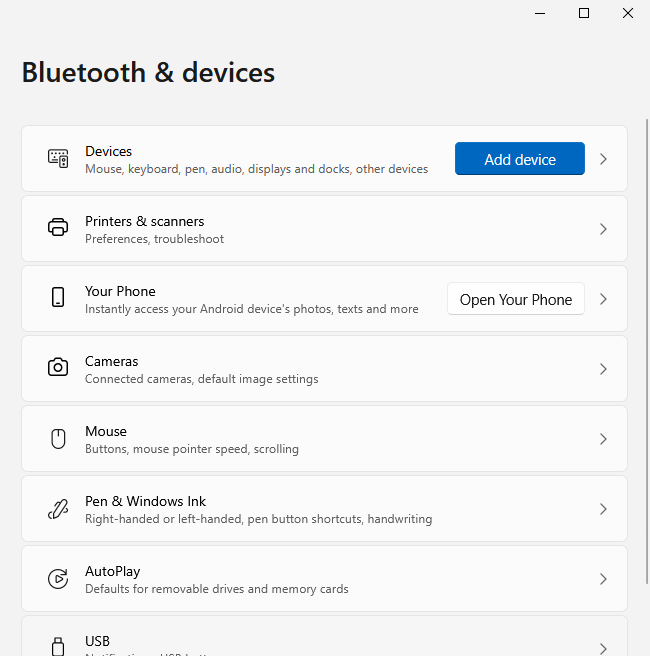
¶ 3. Open Printers & Scanners
Select Printers & Scanners.
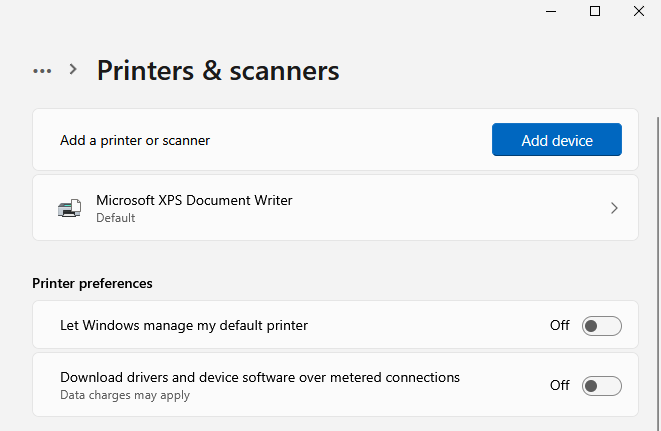
¶ 4. Add a Printer
Click Add Device.
¶ 5. Choose Manual Setup
When the system begins searching, select Add Manually.

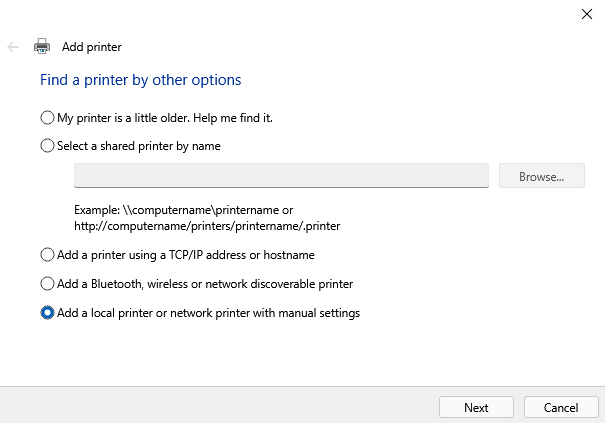
¶ 6. Select Manual Printer Option
In the Add Printer wizard, choose Add a local printer or network printer with manual settings.
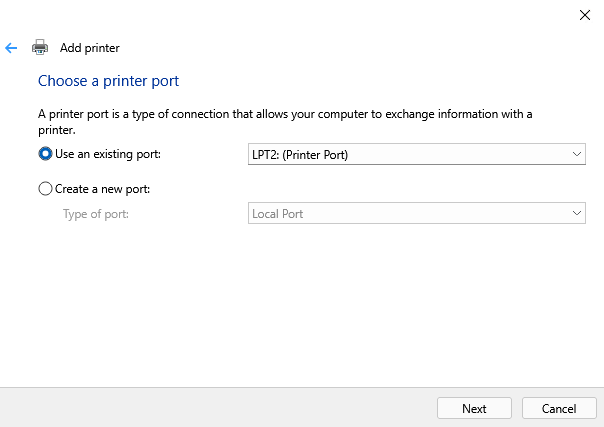
¶ 7. Choose Printer Port
Select an existing port (e.g., LPT1, USB) or create a new port.
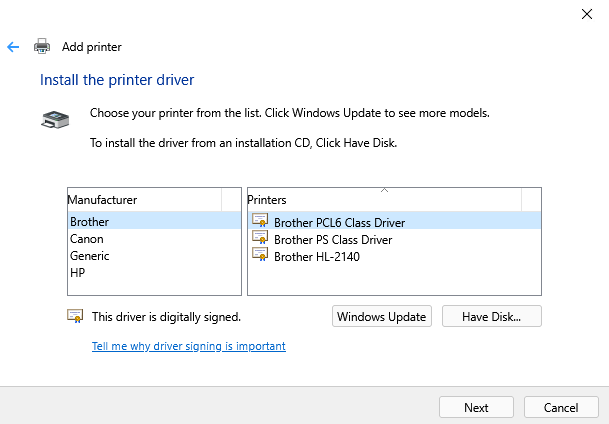
¶ 8. Install Printer Driver
Choose the appropriate printer driver from the list or provide a disk/INF file if needed.
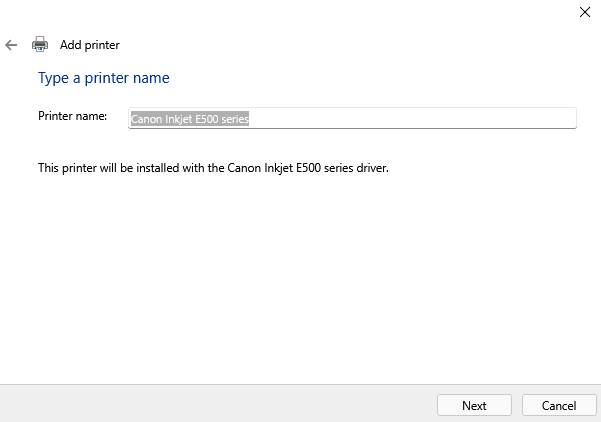
¶ 9. Name the Printer
Enter a name for the printer to identify it on your system.
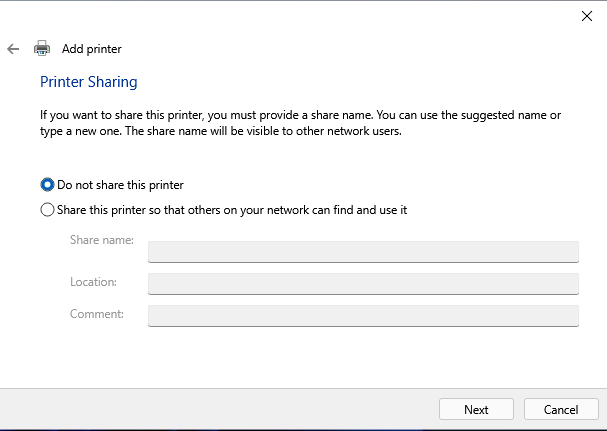
¶ 10. Printer Sharing
Choose whether to share this printer with other devices on your network.
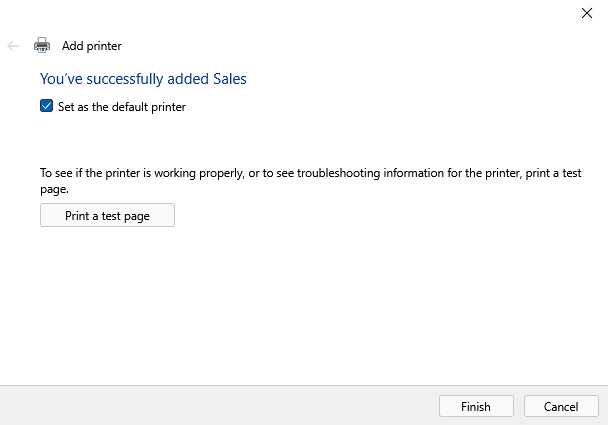
¶ 11. Final Settings
You now have the option to:
- Set as default printer
- Print a test page to confirm installation
¶ 12. Finish
Click Finish.
✅ You have successfully added a local printer manually in Windows 11.