¶ How to Create a Virtual Machine in Hyper-V (Windows 11)
Follow these steps to create a new Virtual Machine (VM) in Hyper-V on Windows 11:
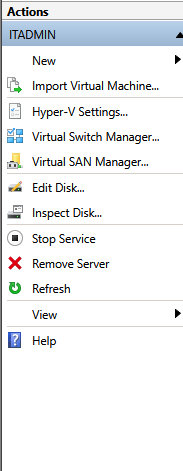
¶ 1. Start the VM Creation Wizard
In Hyper-V Manager, select your server.
From the Actions pane on the right, click New > Virtual Machine.
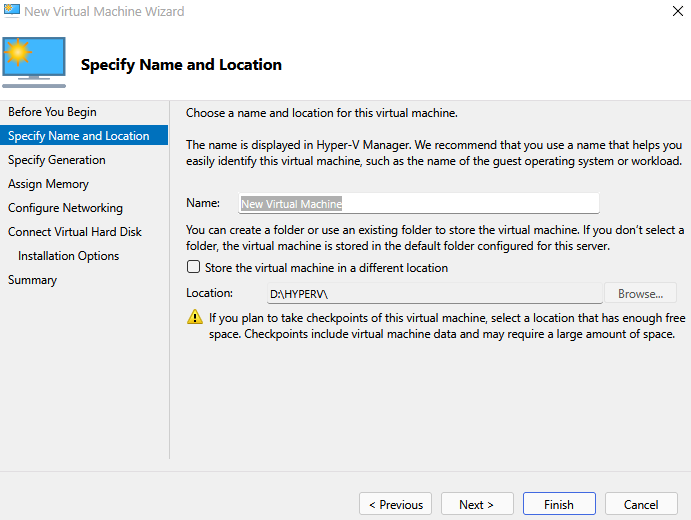
¶ 2. Name and Location
Enter a name for your VM and specify the location where it will be stored.
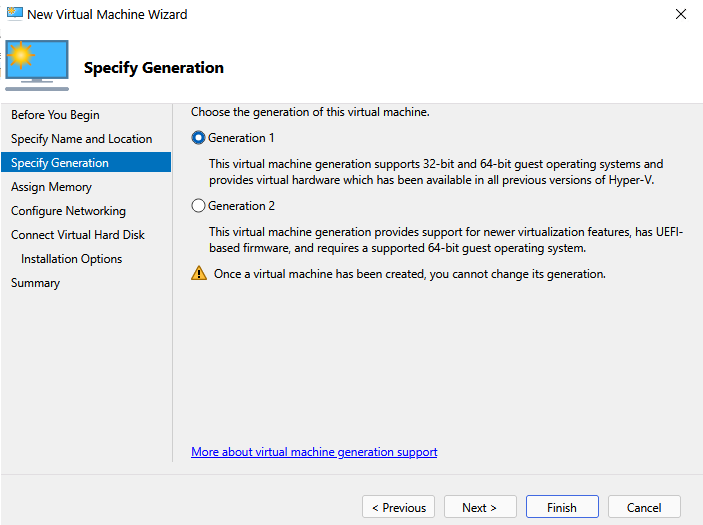
¶ 3. Select Generation
Choose the generation of the VM:
- Generation 1 – supports legacy BIOS and older OS compatibility.
- Generation 2 – supports UEFI, Secure Boot, and modern features (recommended for newer OS).
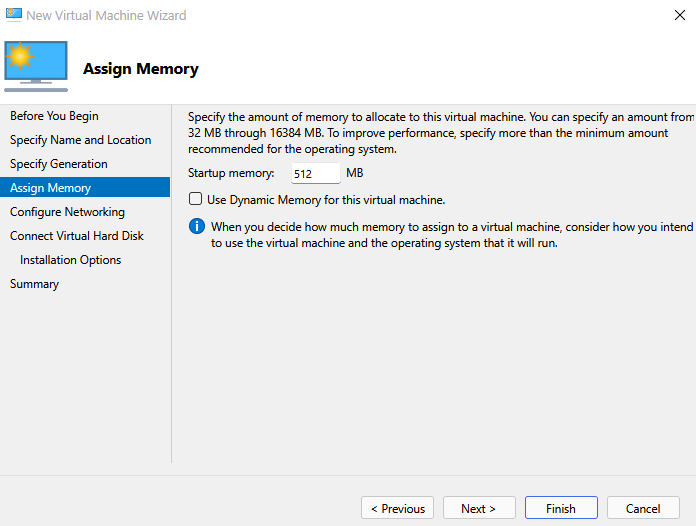
¶ 4. Assign Memory
Specify the amount of startup memory (RAM) to allocate.
You can also enable Dynamic Memory to adjust memory use automatically.
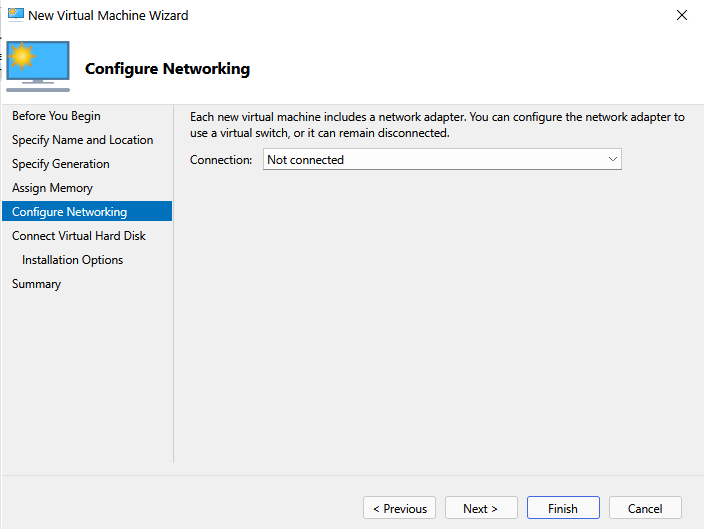
¶ 5. Configure Networking
Choose the network adapter to connect your VM to.
- Not Connected – no network.
- Default Switch / Virtual Switch – provides network connectivity.
¶ 6. Connect Virtual Hard Disk
Assign a Virtual Hard Disk (VHD or VHDX) to your VM:
- Create a new virtual hard disk
- Use an existing virtual hard disk
- Attach a virtual hard disk later

¶ 7. Installation Options
Choose how you want to install the operating system:
- Install from bootable image file (ISO) – mount an ISO to the VM.
- Install from a bootable CD/DVD
- Install from network-based installation (PXE)
- Install later – skip for now.

¶ 8. Review and Finish
Review your VM settings. Make sure everything matches your requirements.
When ready, click Finish.
✅ You have successfully created a Virtual Machine in Hyper-V on Windows 11.