¶ How to Create a Starter GPO
This walkthrough shows how to create a Starter GPO and configure DNS settings within it.
-
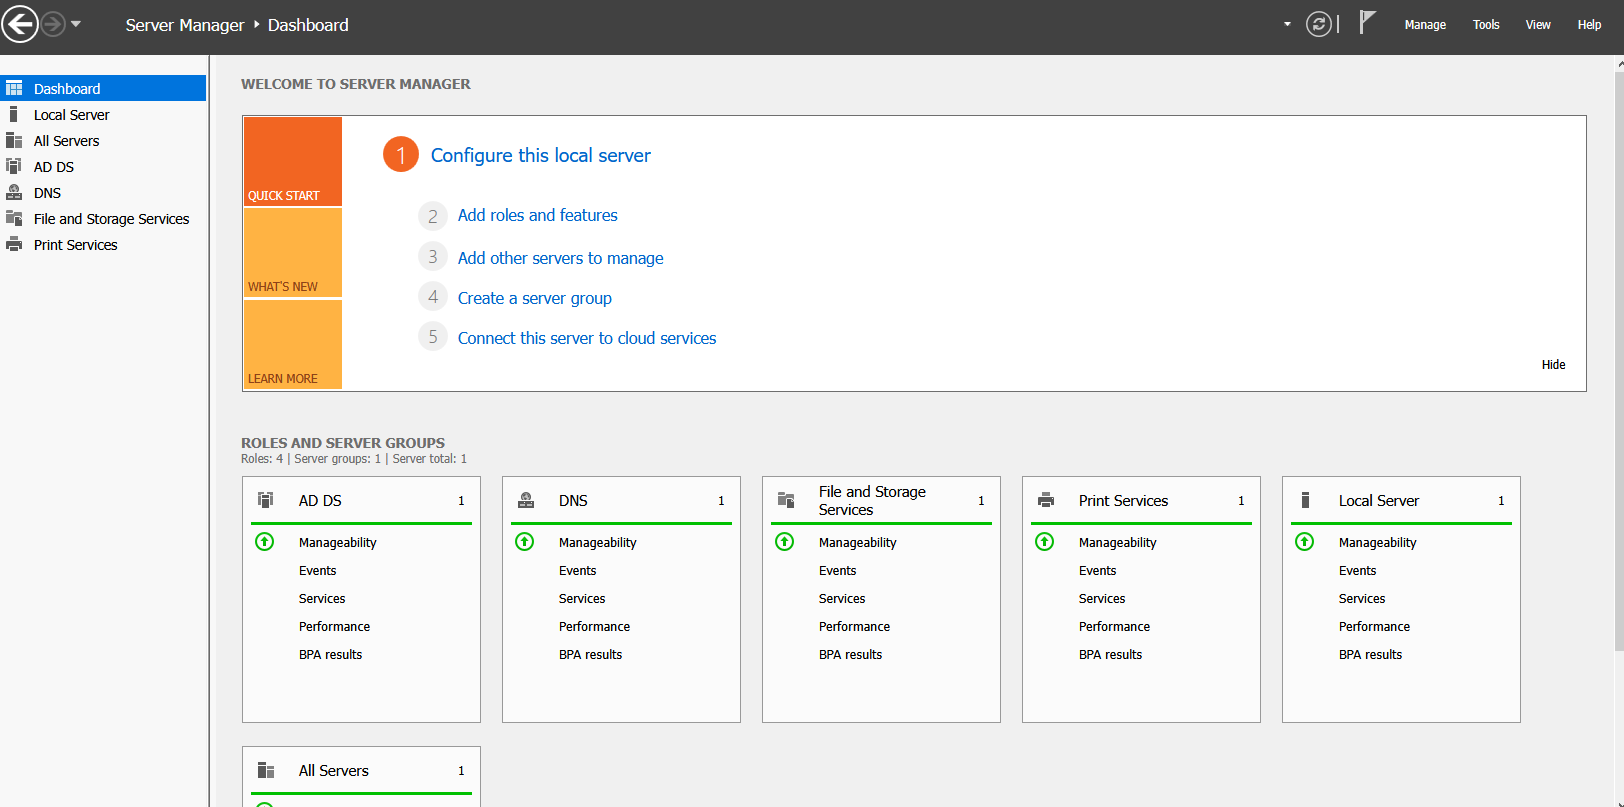
In Server Manager, click Tools.
-
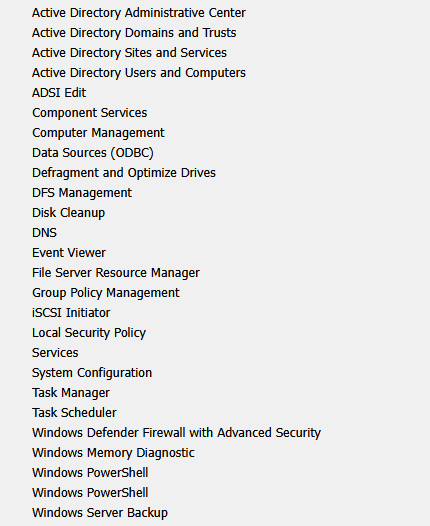
Click Group Policy Management.
-
Click on your Domain to expand.
-
Select Starter GPOs.

-
Click Add Starter GPO Folder.
-
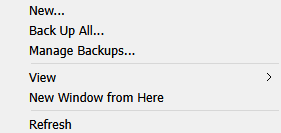
Right-click Starter GPOs.
-
Click New.
-
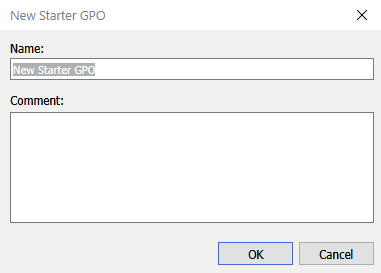
In the New Starter GPO window, fill out the required information.
-
Open the new Starter GPO.
-
Begin configuring your Starter GPO. (Example: DNS Settings)
-
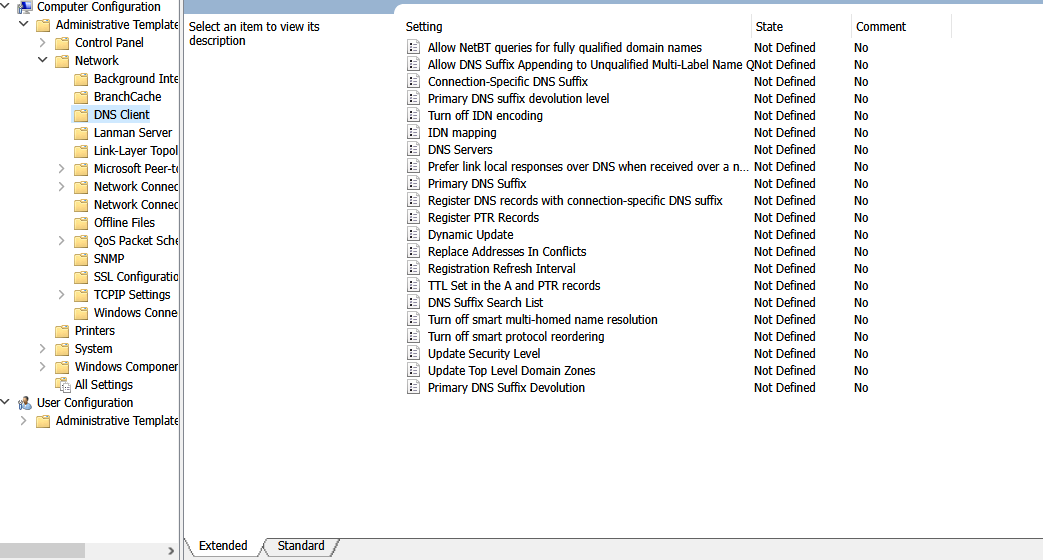
Navigate to:
Computer Configuration → Administrative Templates → Network → DNS Client -
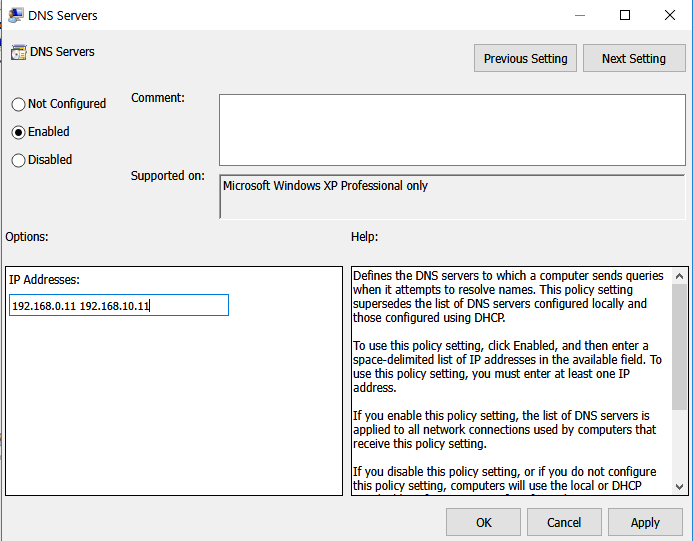
Right-click DNS Servers → Edit → Fill out the required information.
-
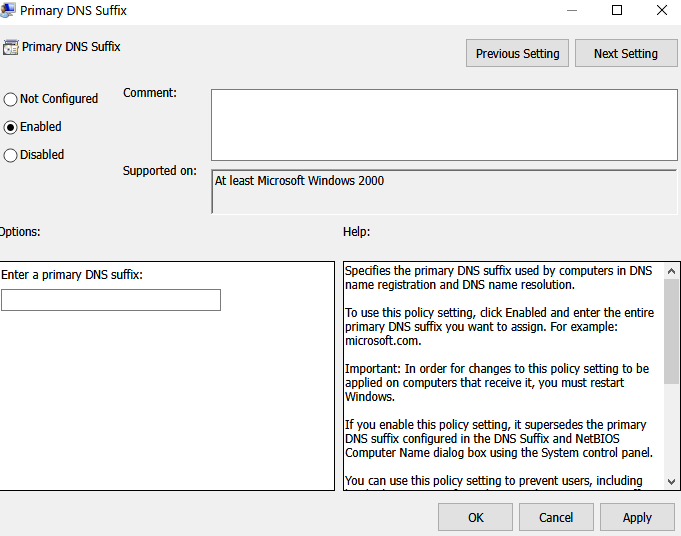
Right-click Primary DNS Suffix → Edit → Fill out the required information.
-
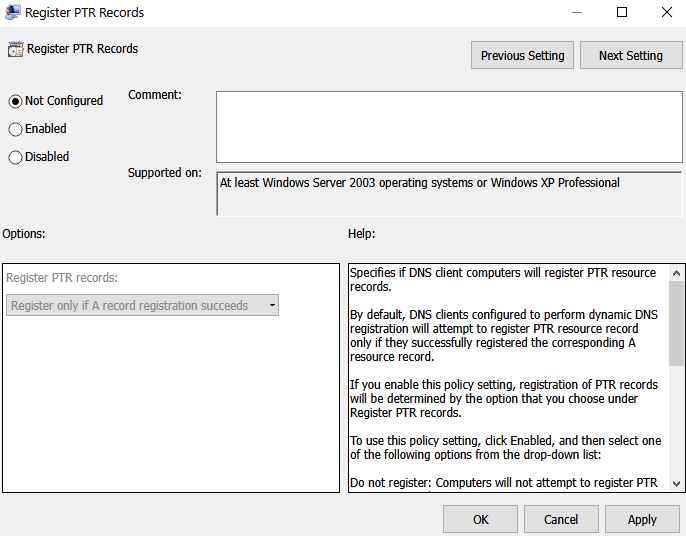
Right-click Register PTR Records → Edit → Fill out the required information.
-
Right-click Dynamic Update → Edit → Fill out the required information.
-
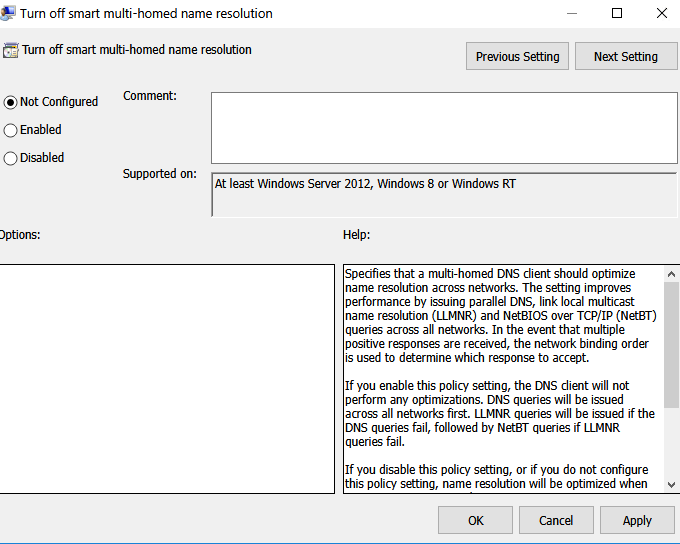
Right-click Turn off smart multi-homed name resolution → Edit.
✅ End Result:
You have created a Starter GPO with DNS settings configured. This GPO can now be used as a template when creating new Group Policy Objects.