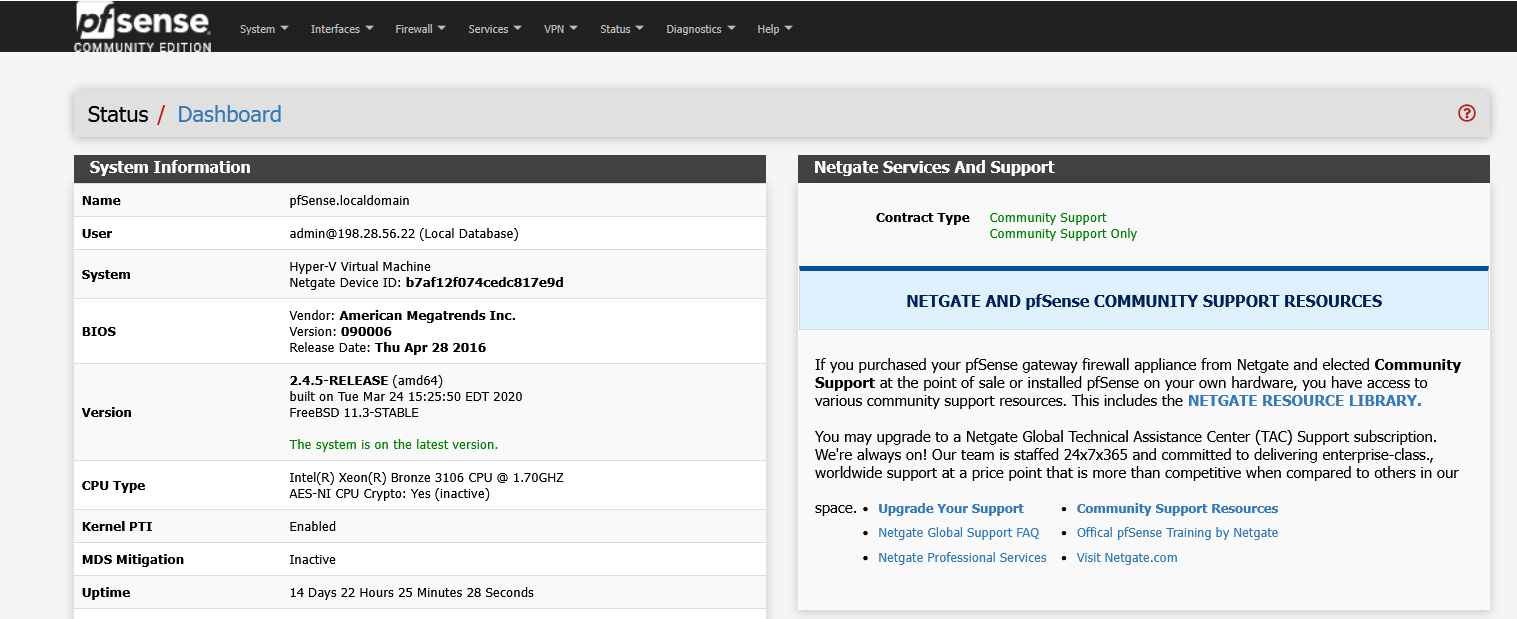
- Log in to pfSense.
- Click on VPN.
- Select OpenVPN.
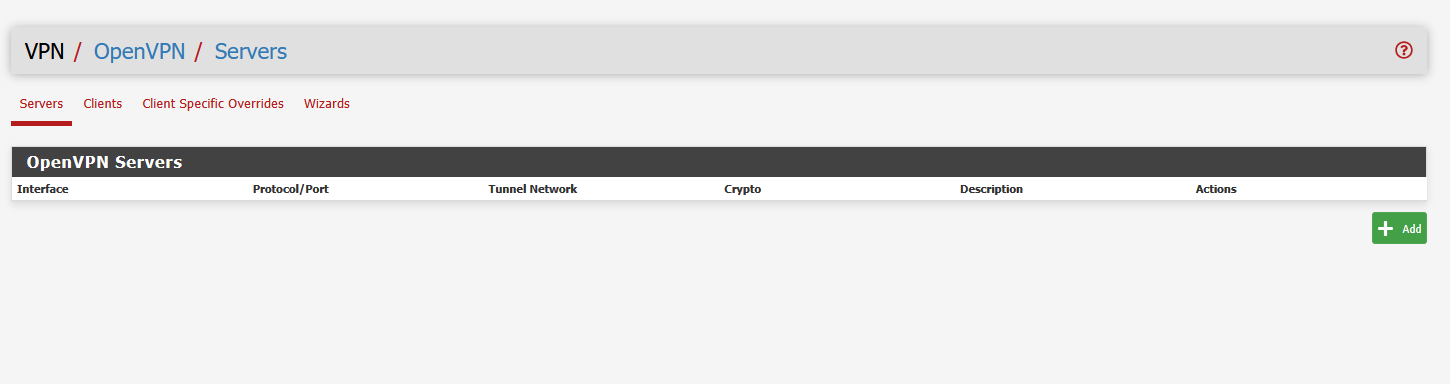
- Click on Wizards.
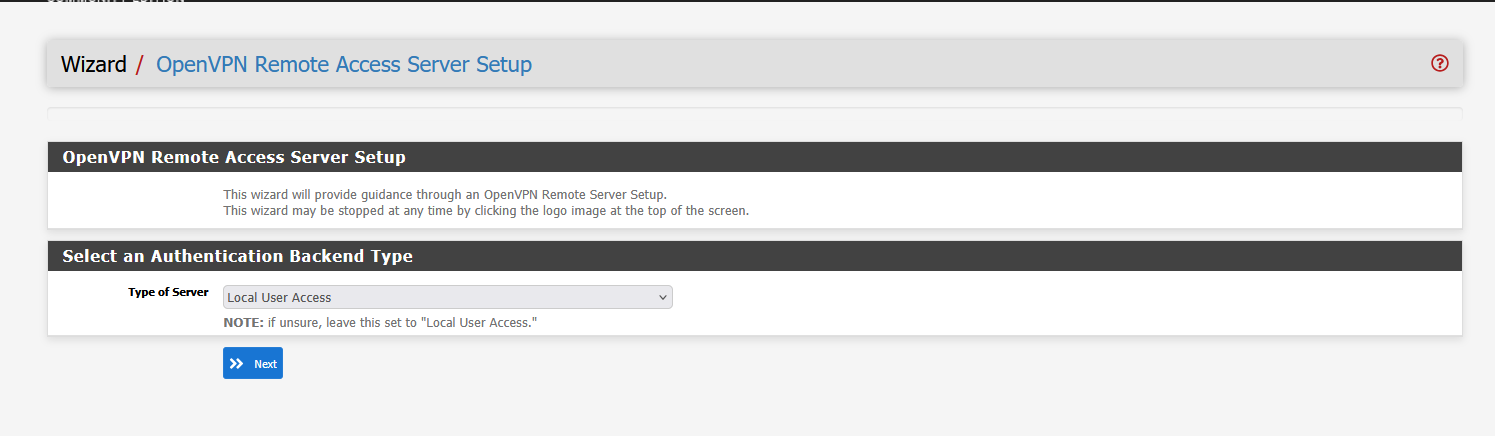
- Leave the default options selected and click Next.
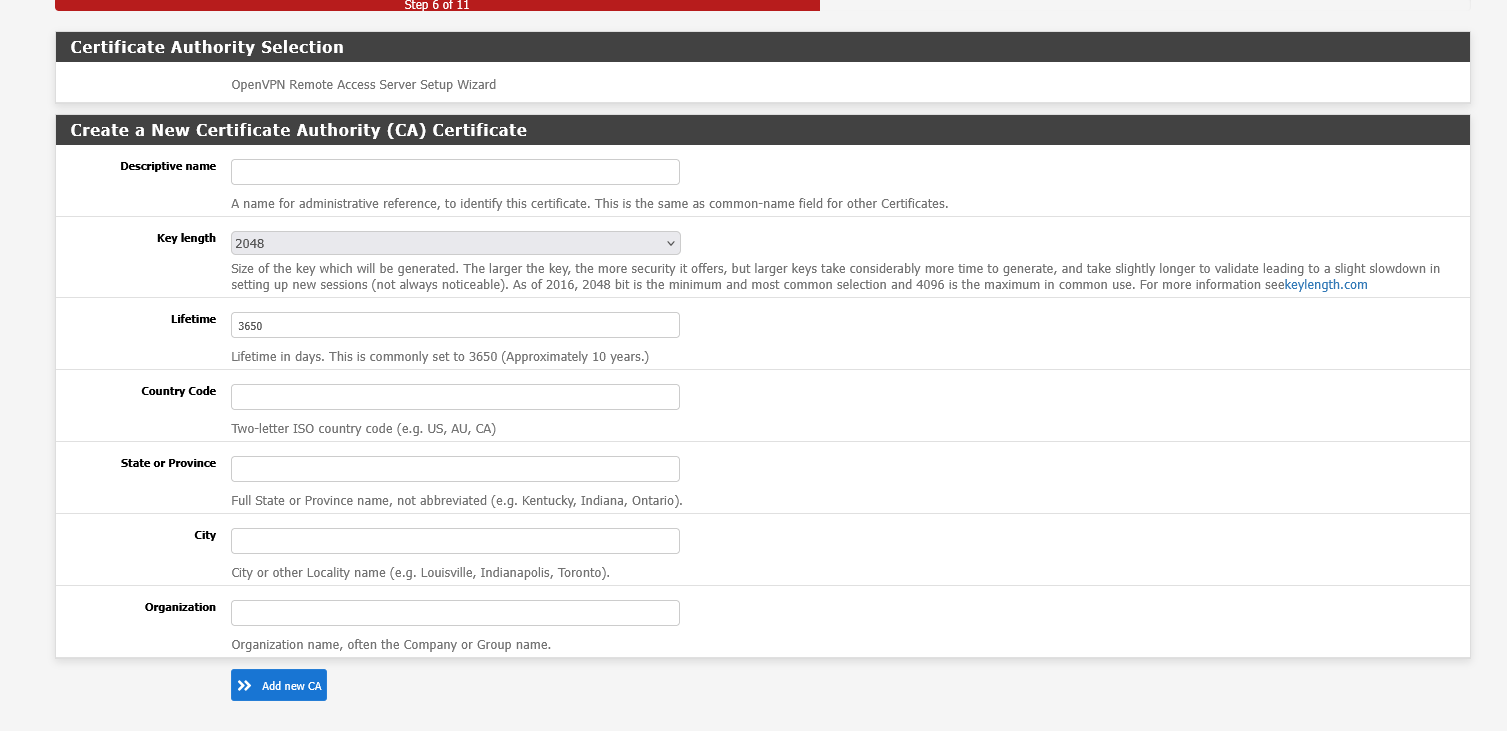
- Create a New Certificate Authority (CA) by filling out the required information.
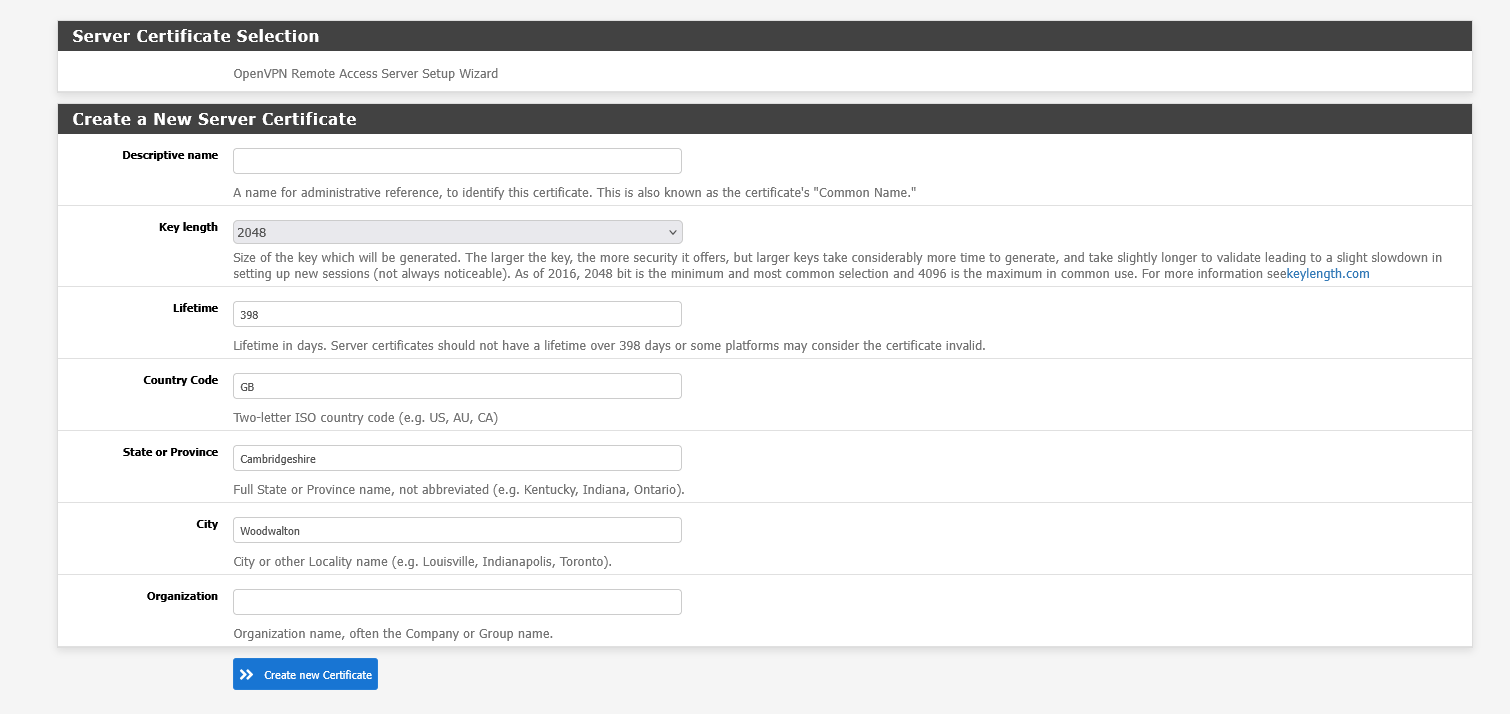
- Click Next, then create a New Server Certificate by completing the form.
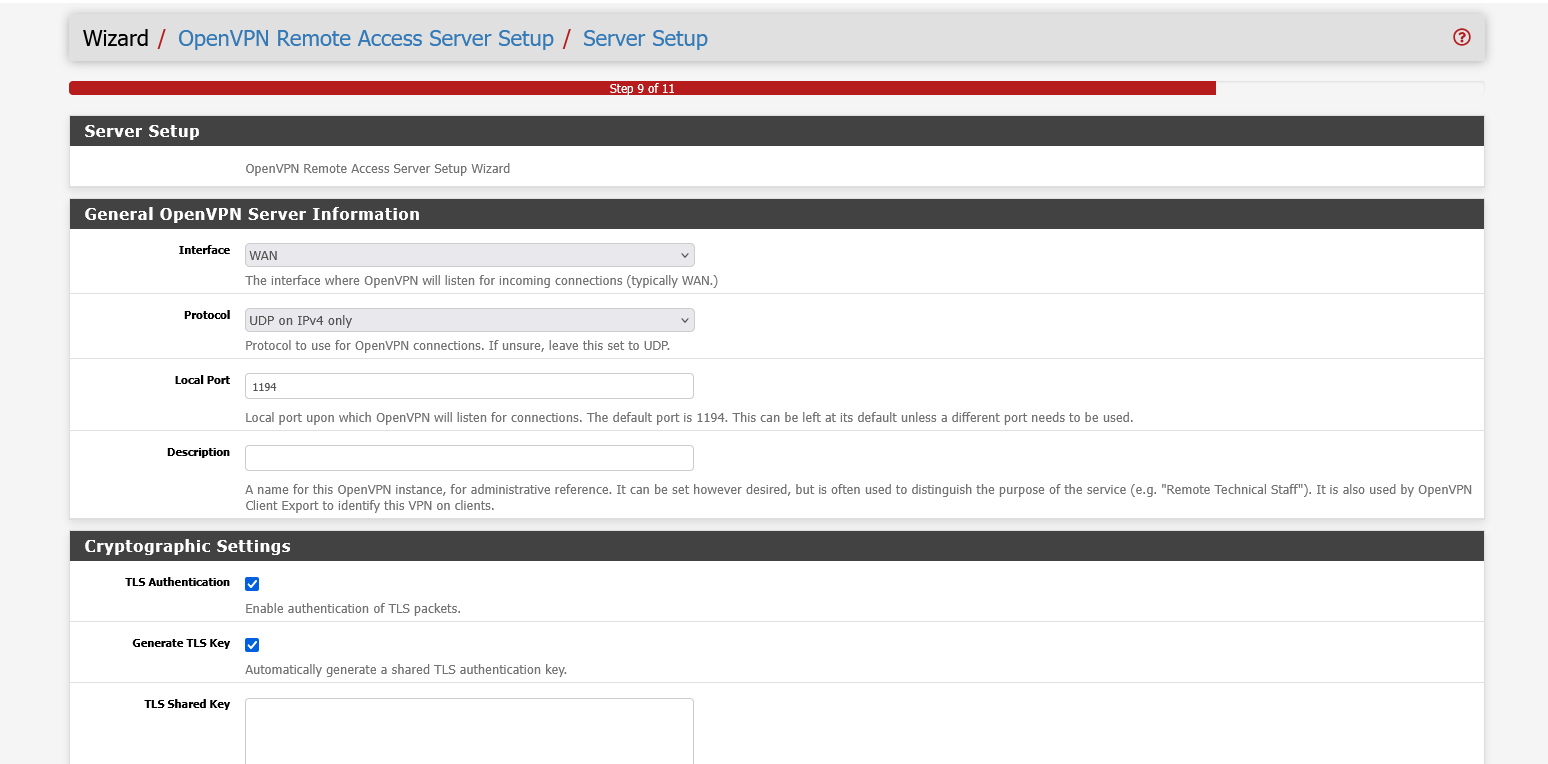
- Click Next, then configure the VPN Server General Settings:
- Interface: Typically WAN
- Protocol: UDP on IPv4 only
- Tunnel Network: The network used for VPN clients (e.g.,
10.8.0.0/24)
- Local Network: Your internal network accessible through the VPN (e.g.,
192.168.1.0/24)
- Concurrent Connections: The maximum number of simultaneous clients
- DNS Servers: (optional) Specify DNS servers for clients
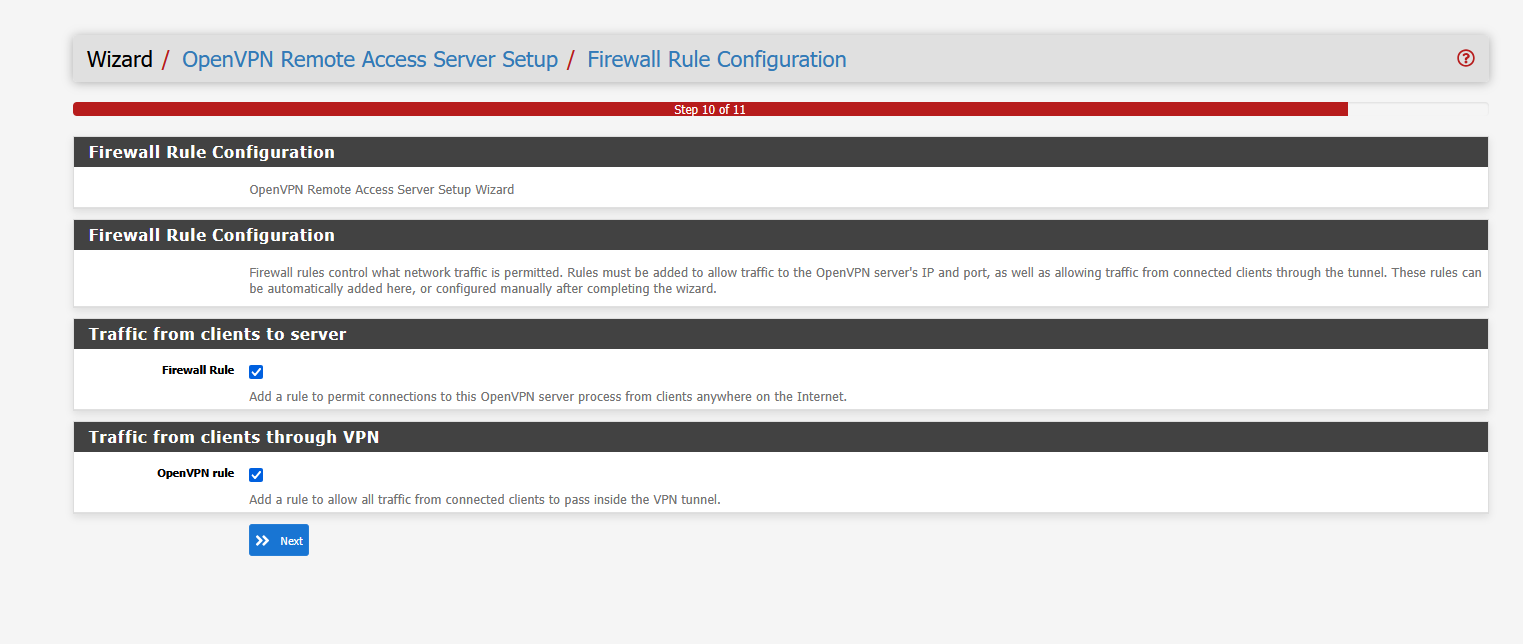
- Click Next, then on the Firewall Rule Configuration page, ensure both checkboxes are selected for:
- Firewall Rule
- OpenVPN Rule
- Click Next to finish the setup wizard.

- Once the wizard completes, click Edit next to the VPN server you just created.

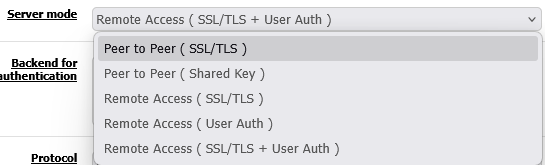
- Under Server Mode, select Remote Access (User Auth).
- Scroll down and click Save.

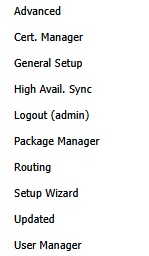
- Click on System.

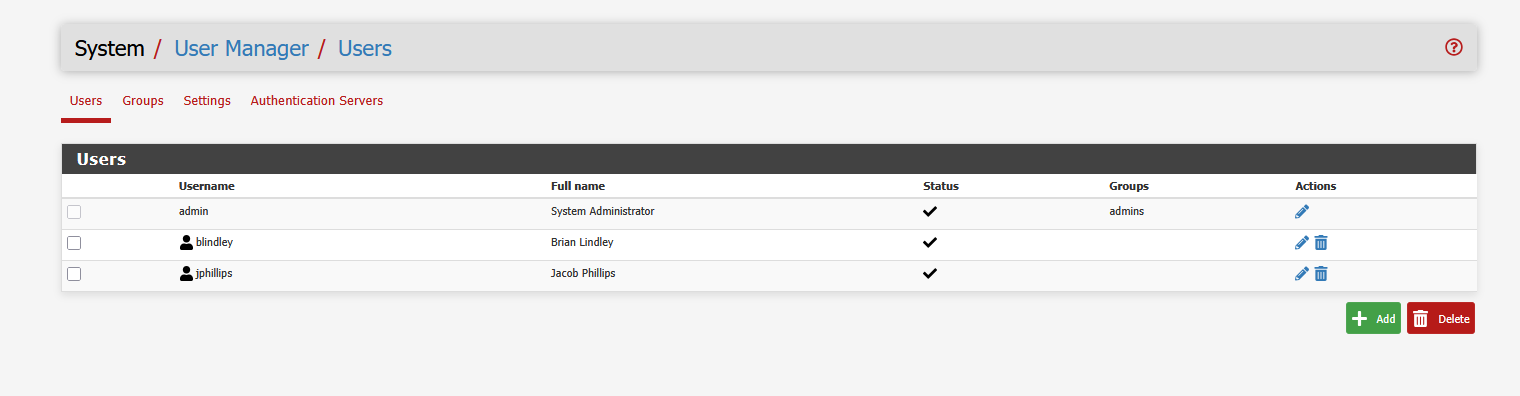
- Select User Manager.
- Click Add to create a new user.
- Fill out the user information (username, password, and optionally certificate association).
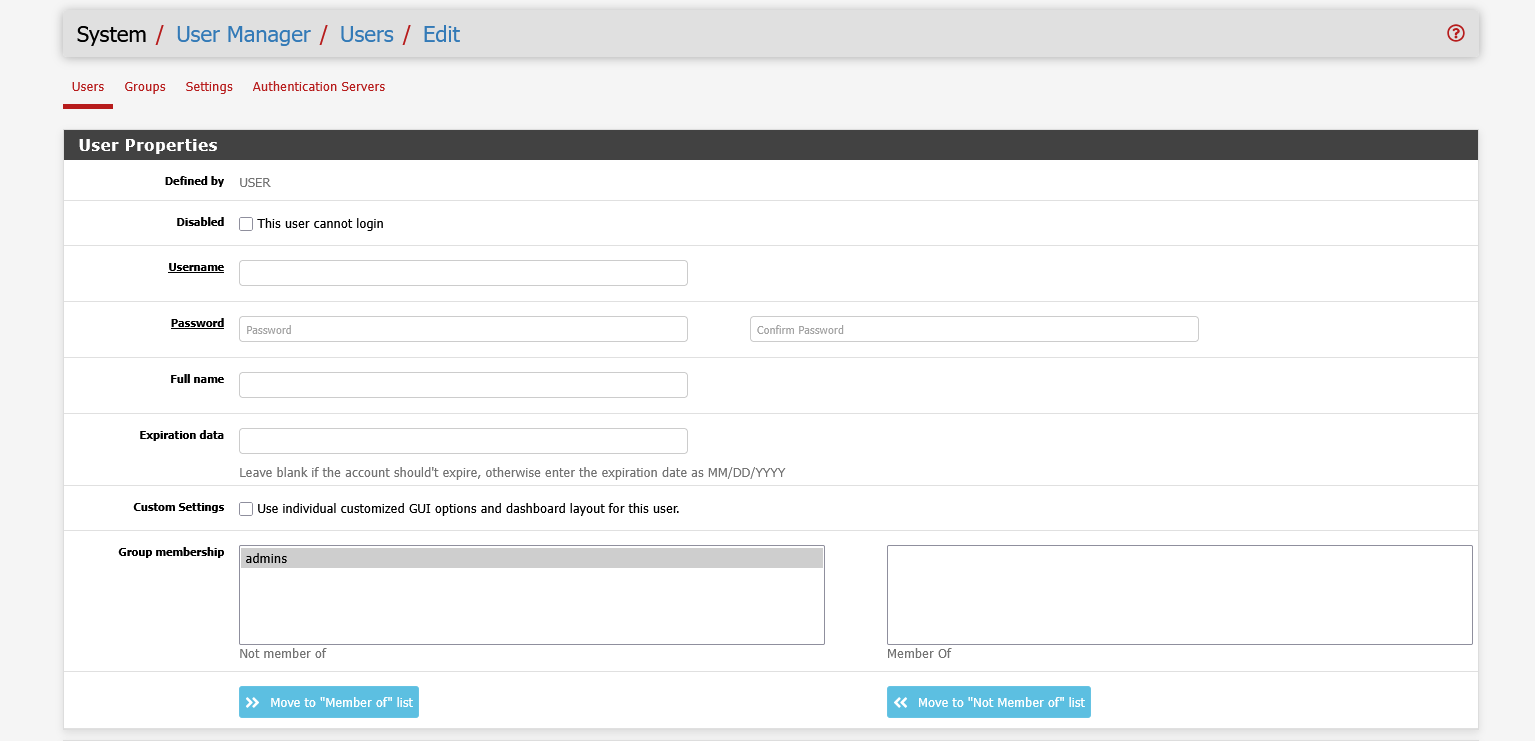
- Scroll down and click Save.
