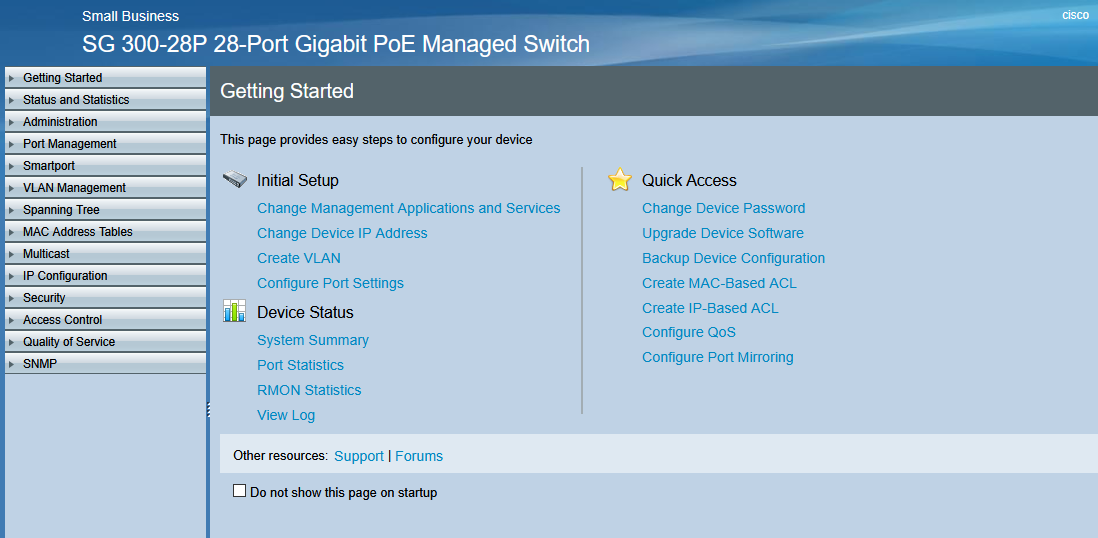
- Login to the Cisco Switch
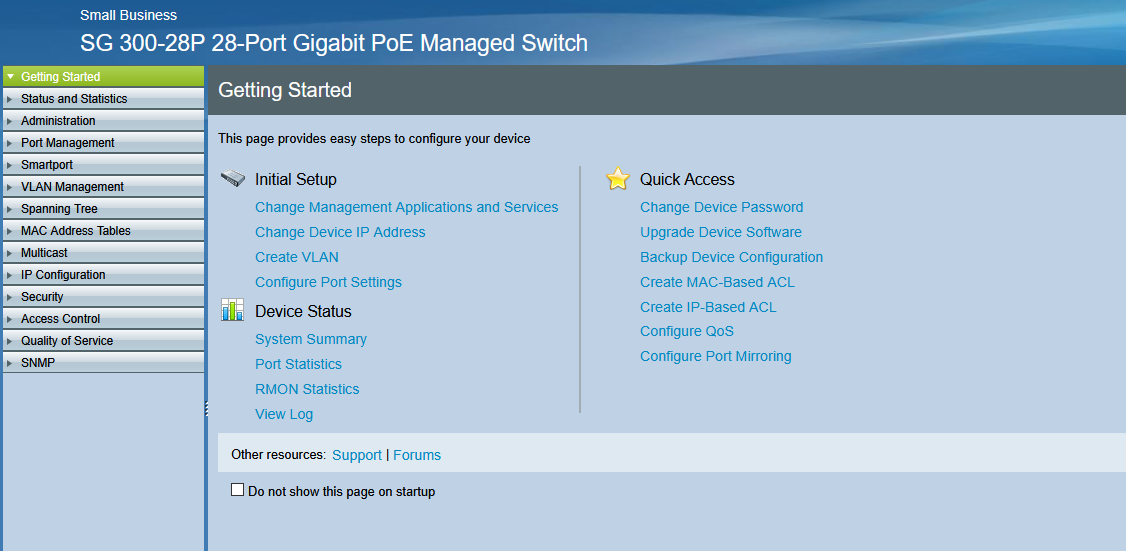
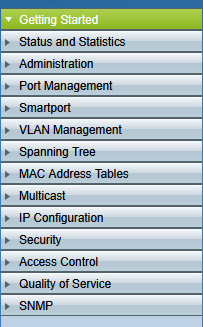
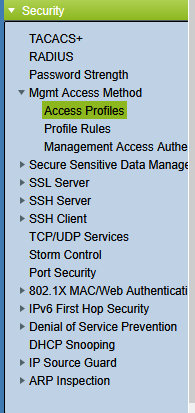
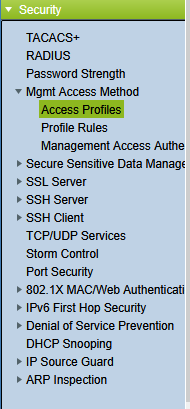
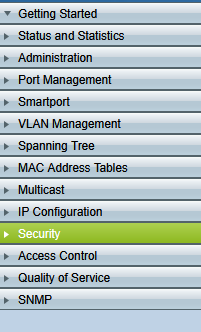
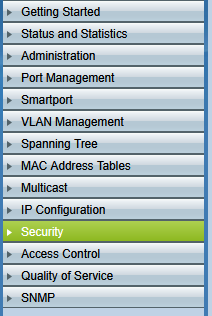
- In the left navigation column, expand Security
- Click on Access Profiles
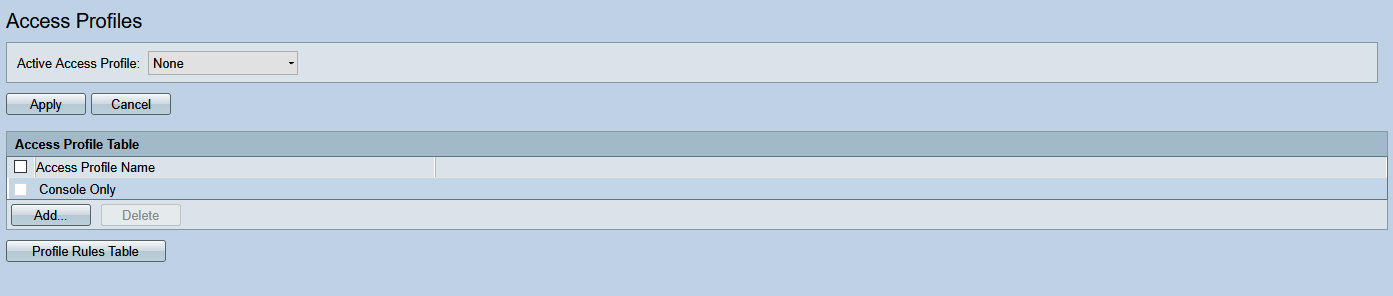
- On the Access Profiles page, click Add
- In the pop-up window, fill in the required information

- Click Apply at the bottom of the page

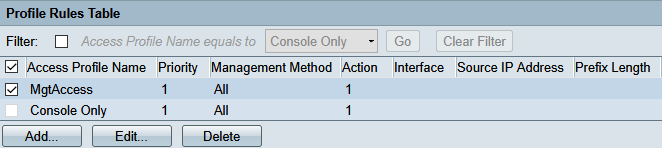
- Click on Profile Rules in the left navigation column
- This brings you to the Profile Rules page

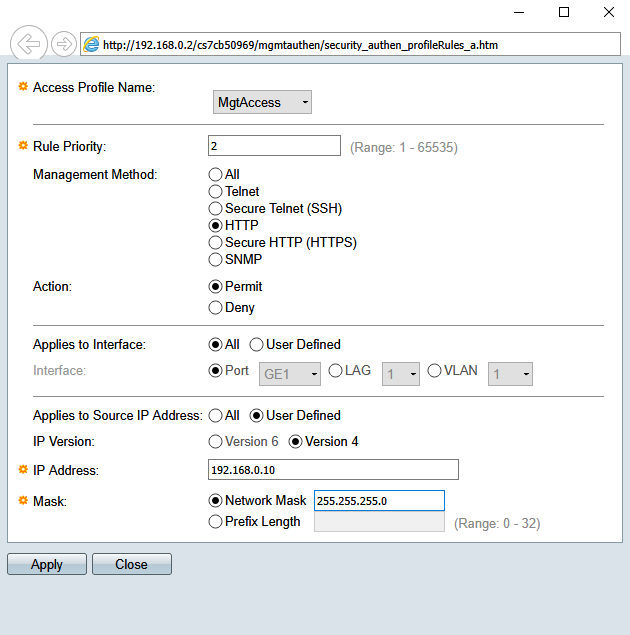
- Check the profile you just created and click Add
- Fill in the information. This allows web portal access from a single IP (
192.168.0.10)
- Click on Access Profiles in the left navigation column
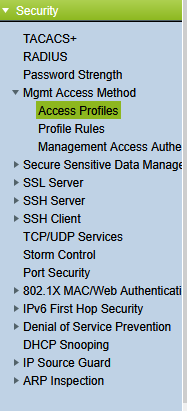
- On the Access Profiles page, select the profile you just configured from the drop-down menu
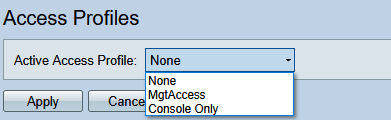
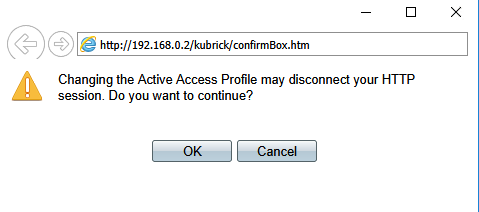
- Click Apply

- In the pop-up window, click OK
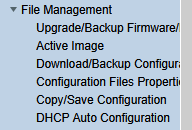
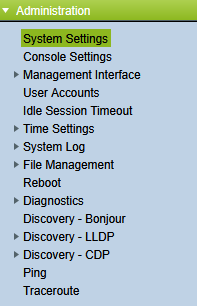
- In the left navigation pane, select Administration to reveal the drop-down
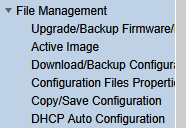
- Expand File Management within Administration
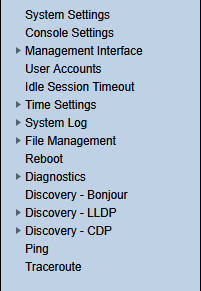
- Click Copy/Save Configuration
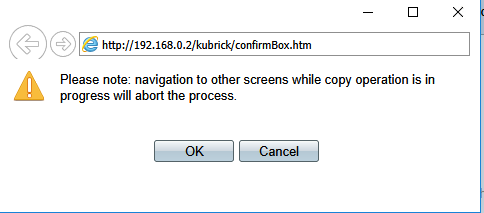
- On the Copy/Save Configuration page, save your running configuration to the startup configuration and click Apply

- In the pop-up window, select OK
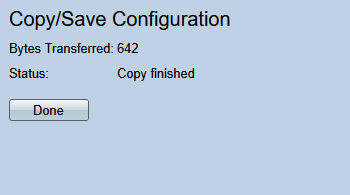
- Click Done
- Login to the Cisco Switch
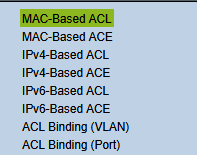
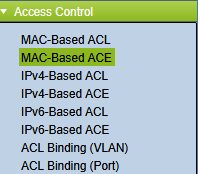
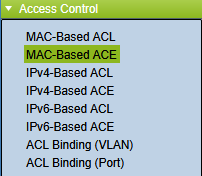
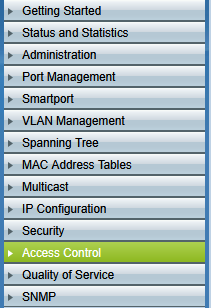
- In the left navigation column, expand Access Control
- Click on MAC-Based ACL
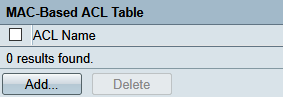
- This brings you to the MAC-Based ACL page

- Click Add
- Enter a name for your access control in the pop-up window
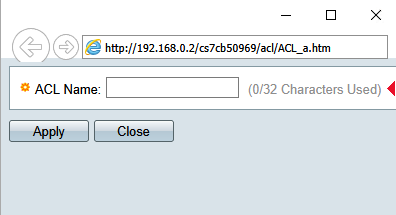
- Click Apply, then Close

- In the left navigation column under Access Control, click MAC-Based ACE
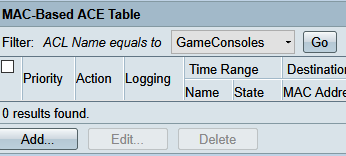
- This brings you to the MAC-Based ACE page
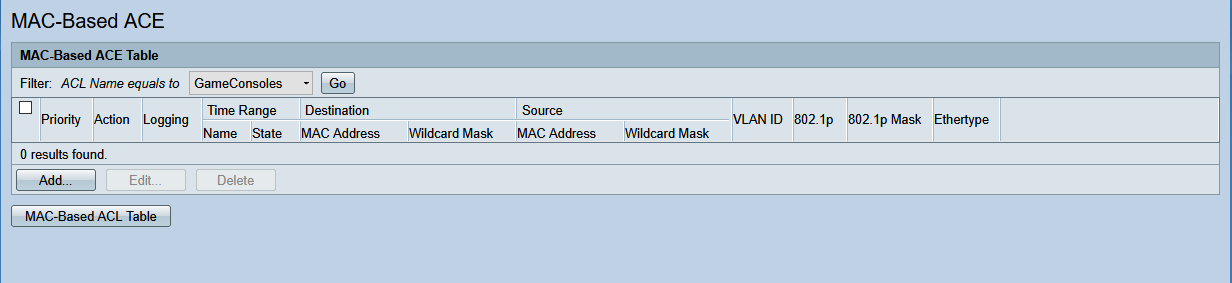
- Click Add
- Fill in the desired information in the pop-up window
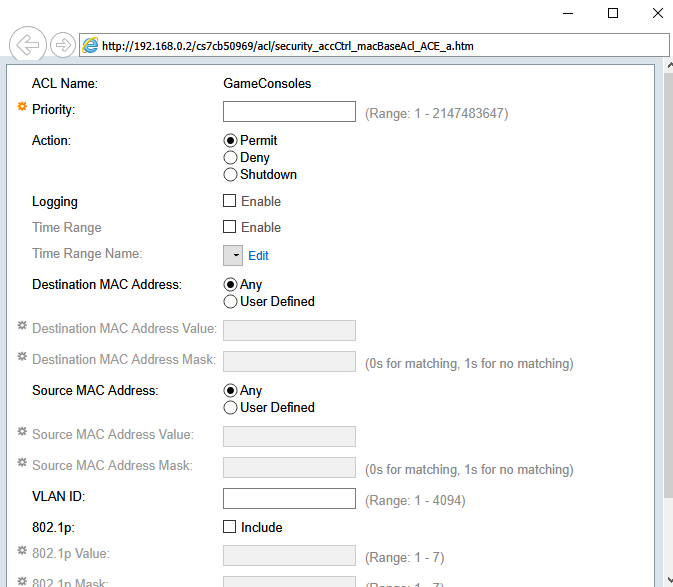
- Scroll to the bottom, click Apply, then Close

- Under Access Control, select ACL Binding (Port)
- This brings you to the ACL Binding (Port) page
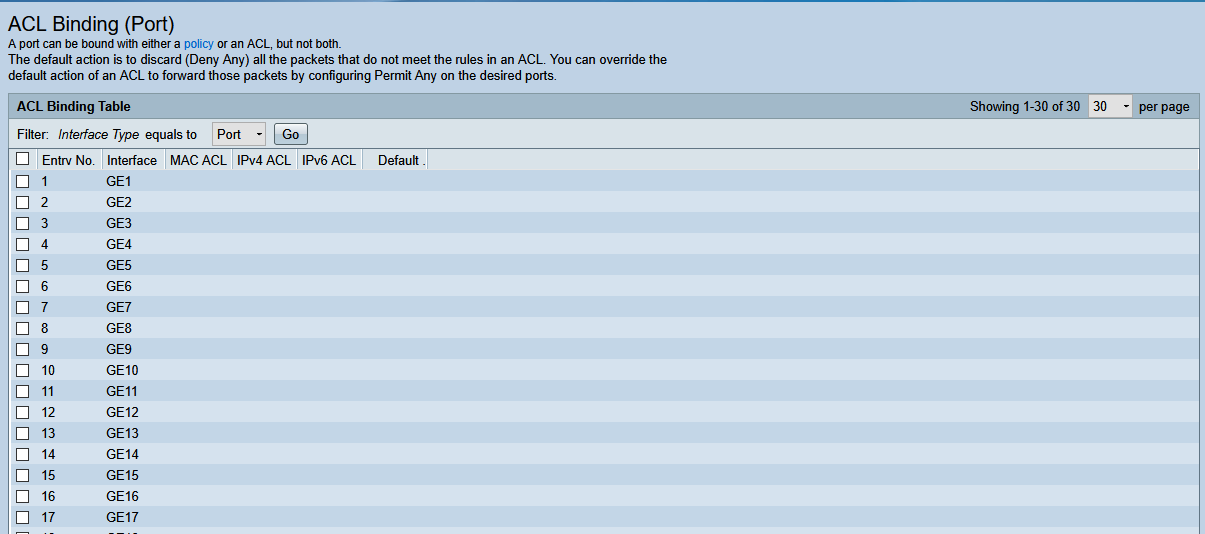
- Click on the port you want to apply the ACL to

- Scroll to the bottom and select Edit

- In the pop-up window, apply the MAC-Based Access Control settings
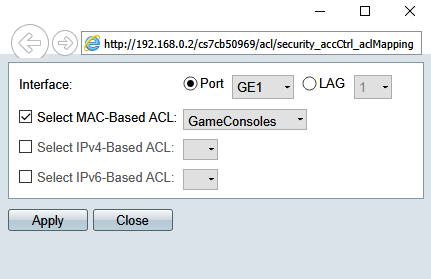
- Click Apply and Close

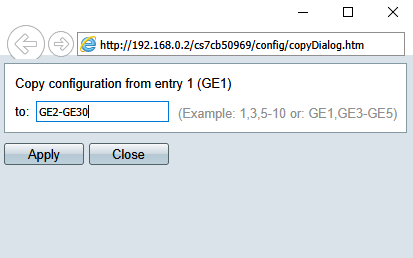
- With the port selected, click Copy Settings at the bottom of the page
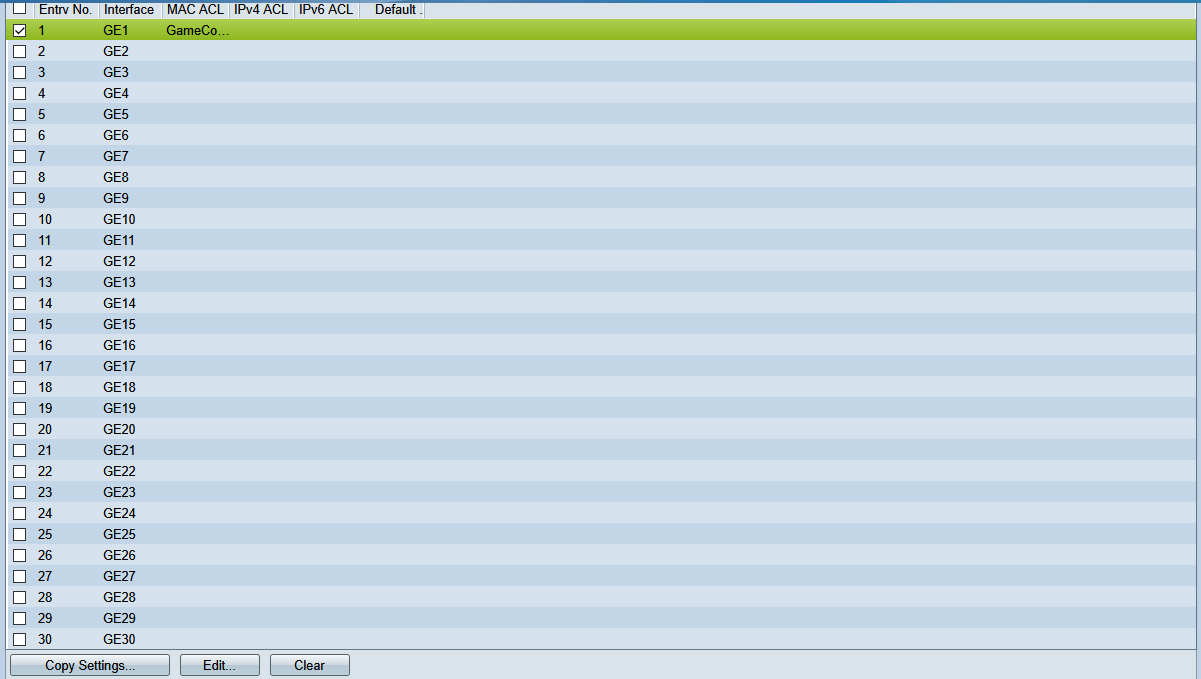
- In the pop-up window, select the ports you want to copy to (e.g., all ports) and click Apply
- In the left navigation column, select Administration
- In the Administration drop-down, select File Management
- In the File Management drop-down, select Copy/Save Configuration
- On the Copy/Save Configuration page, save your running configuration to the startup configuration and click Apply

- In the pop-up window, select OK
- Click Done
